
Screen Captures on a Mac
There are several ways to capture a screen on a Mac. Some people use apps like Skitch, Captur, Snagit or Jing etc…
From the first Apple Mac ever made, you have always been able to capture a whole screen or part of a screen, using keyboard commands. This is my favorite – as it doesn’t need any software to be installed.
All screen captures are saved in a png format and are placed on your Desktop and titled![]() .
.
You can fully edit these files (pictures) in any graphic or photo software (like Photo, Paintbrush, Seashore, Gimp, OpenOffice.Org – Draw). You can perform limited editing (like re-sizing & cropping) when you import them into – word processing software (Word, Pages etc..) or presentation software (PowerPoint, Keynote etc..) or spreadsheet software (Excel, Numbers etc..).
You are also able to resize, crop and save the picture in a different file format (like jpg, pdf) using programs like Preview.
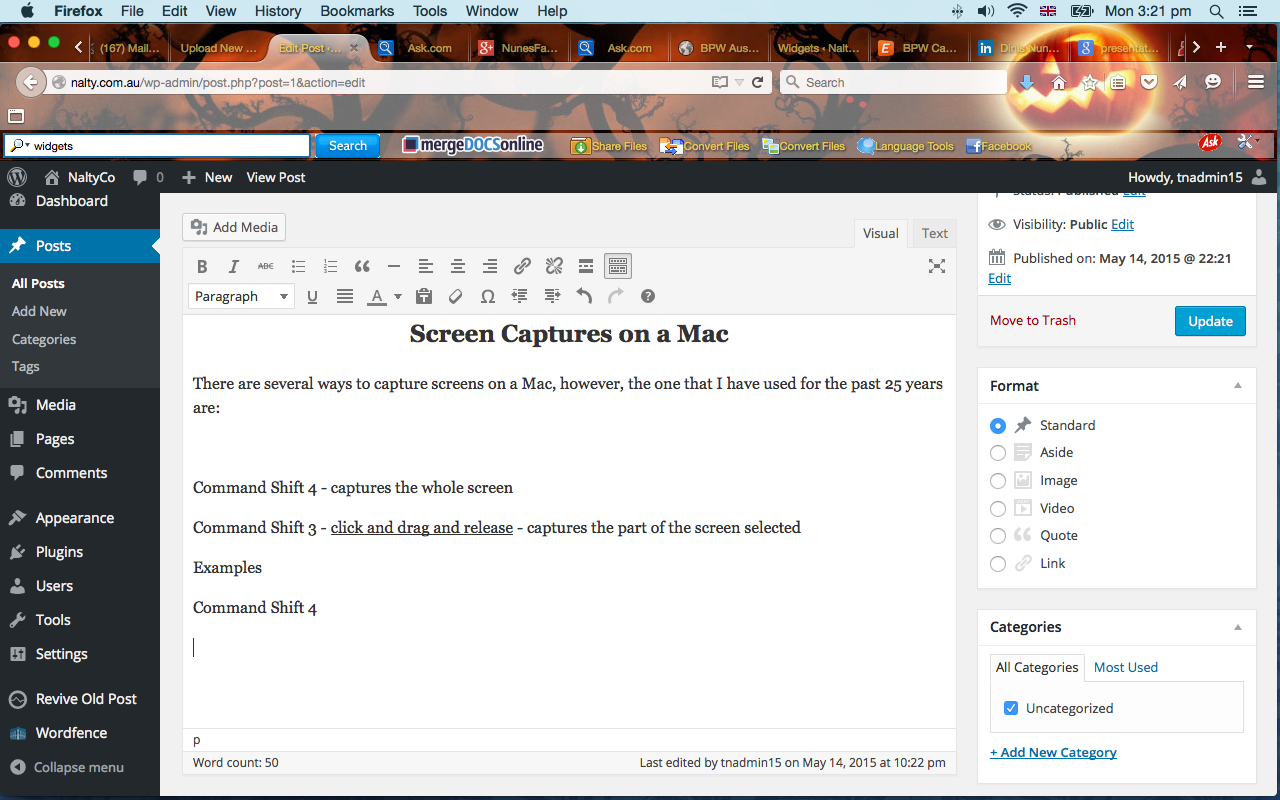
Command Shift 3 – captures the whole screen
Command Shift 4 – captures the screen selected – click + drag + release (to select)
Examples
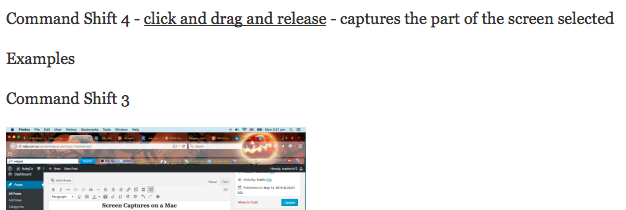
Command Shift 3
This captured the whole computer screen, including the top menu bar. You can crop the picture from within Word – if you are using it in Word. Alternatively, use one of the apps mentioned above.
Command Shift 4
This captured the part of the screen I selected.